Accidental JPEG
Dear Bubbles:
Today I discovered the image format had been changed in my camera from RAW to JPEG when it was recently serviced. I took over 500 images in JPEG. Many were taken with the intention of HDR, panoramas, and focus stacking. Needless to say, I am very upset since these images were captured during my trip to Arizona. Is there a way to convert them to RAW? Do you have suggestions for final processing?
So sad,
~Kaylyn
Dear Kaylyn,
Oh no! I’m so sorry to hear of this mishap! I can understand why you’re upset. It’s maddening to expect one thing and get another—especially when you’ve put so much time, money, and effort into traveling. But not all is lost! I think you have some viable options…
Photographers like to photograph in RAW (which is frequently capitalized like an acronym even though the initials doesn’t stand for anything) so as to record the broadest range of data possible in an uncompressed format. Having “all the data” provides the most flexibility when processing and printing the image, but because the file contains only data, one must convert the RAW file into a usable, modifiable format before it becomes a true photograph. (This conversion typically happens in software like Adobe Camera Raw and Lightroom.)
RAW is a lossless format. Making adjustments in processing software and opening/closing the file does not impact the data quality. This allows the photographer leeway in making changes to areas like exposure, contrast, and color balance without losing image quality. Maximizing your data capture in the field helps to increase the efficiency and effectiveness of later processing activities.
JPEG (which stands for “Joint Photographic Experts Group”) is a smaller file format that contains a compressed subset of the RAW data. The camera chooses which data to keep and which to throw out—the photographer does not get to choose. But this format offers convenience. JPEGs are instantly readable by almost all computers, i.e. they do not require conversion before processing or viewing as a photographic file. They are quick to access and share. Especially because one does not typically process JPEG images.
Not only do JPEGs contain less data than RAW, but JPEGs are also a lossy format. This means each time a photographer modifies and saves a JPEG photograph, the file progressively loses data and image quality degrades. You can imagine that there is more pressure on the photographer to “get it right” in the camera in the field. You can print beautiful prints from a native JPEG file but oftentimes photographers do so in smaller dimensions because of the limited data the file contains.
Although RAW and JPEG formats each have their advantages and disadvantages, you can successfully deliver your photographic vision in either format!
(If you are undecided as to which format to use, there’s no harm in recording in both RAW and JPEG. You can record the best of both worlds while deciding which format works best for you. It’ll only cost you space on your memory card and hard drives. But make sure you’re exposing properly for each format—watch your histogram! For a refresher on the different exposure approaches for RAW and JPEG, read “Histogram is Out of Shape” on Dear Bubbles: https://dearbubbles.com/2020/03/histogram-is-out-of-shape.)
Because you’ll want to approach exposing RAW and JPEG format differently in the field and in processing, it’s best to decide before you start making photographs which format to use. Once you choose JPEG, there’s no way to gain back the lost data you retain with RAW. Also, if you try to polish a JPEG in processing, you’ll be stuck with a smaller-than-desired file that will degrade every time you make modifications and save it.
So then what? Photographers make photographs, sure, but one of the best skills photographers can possess is problem solving skills. When something doesn’t right in our process, we don’t give up. We find a way to work around it! We need to find a way to expand the data set without losing data quality.
To my knowledge, there is no way to convert a JPEG to a RAW file. And even if you could, you wouldn’t gain much by doing so. You still won’t be able to recover the data lost in the compression.
In theory, you could save the JPEG as a DNG (Digital Negative, open-source format), TIF (Tag Image File, open-source format), or PSD (Photoshop Data, proprietary format specific to Adobe). This will change the file from a compressed one into an uncompressed one, which would preserve image quality as you make adjustments and open/close the image. If you intended to photograph in RAW, changing the JPEG into a DNG, TIF, or PSD won’t solve your problem, but it will stop the bleeding so to speak.
You still won’t be able to expand the data set beyond what you recorded in the original JPEG. Your file size after the conversion will noticeably increase, but not with useful data. Doing this is the equivalent of filling the uncompressed file with air (i.e., useless data) to make it look bigger. It’s putting lipstick on a pig. And what you need is more data…
To increase the data set, you could resample the JPEG in Adobe Lightroom and/or Photoshop to enlarge the image size through interpolation. Interpolation is the act of adding or subtracting pixels. Increasing the number of pixels in your image’s resolution is called upsampling. (Decreasing the number of pixels is called, you guessed it, downsampling.)
Processing software is good at subtracting data but not as good at adding data, although it does try through various algorithms and artificial intelligence. That’s what interpolation attempts to do. Adobe Photoshop has multiple resizing and interpolation (for more information about those options, visit https://helpx.adobe.com/photoshop/using/image-size-resolution.html). Adobe Lightroom’s “Super Resolution” function promises it can enhance an image to “twice the width and twice the height of the original image, or four times the total pixel count.” (Read more here: https://www.adobe.com/products/photoshop-lightroom/super-resolution.html.) Although these functions will work better with native larger data sets that RAW files provide, it sure couldn’t hurt to try it with JPEGs. What do you have to lose?
Once you have an expanded data set, I’d recommend saving the file immediately as a TIF or DNG to get it into an uncompressed format. Then, process the image as you normally would.
(As an aside, I prefer TIF and DNG over PSD just in case I ever decide to move away from Adobe products. With open-source formats like TIF and DNG, I wouldn’t have to do any additional file conversions to make them work with different processing software down the road. With PSD, I would. I digress…)
Or! Another option is to accept things as they are, do as little processing as possible, and go back outside to marvel over butterflies and trees and bubbles! (Just be sure to add checking your recording format to your pre-photographing checklist.)
But wait! There’s more!
There is one more solution to gain some RAW data back. It’s kinda a weird one, but hear me out! We can “steal like an artist” from the art reproduction world. They make photographs of artwork—big and small—and enlarge them into prints, posters, etc. with excellent high quality. All. The. Time. Right!
So, what if:
- You made a straight print of the JPG as-is (with no processing whatsoever) at its native size or something like 8×10 at the highest quality possible (i.e. print the images yourself or take to a professional shop, don’t print at a pharmacy…)
- You set-up an artwork reproduction stand (see an example set-up at https://blog.artstorefronts.com/photographing-artwork#)
- Make a photograph of the print in RAW format.
- Then process that RAW file as you normally would.
It would take some work and extra equipment to pull this off, but I think it has potential. Especially if you conducted a strong critique of your images (a worthwhile effort on its own) and picked only a handful of your most meaningful JPEGS from which to create reproductions. If you haven’t tried this before, you’d be learning a new skill too!
Maybe it could help you down the road in case this happens again? Maybe you just have some fun with it temporarily? Maybe you love it so much, you start a photo reproduction business? Maybe, just maybe, you’ll be able to get just enough data to print some of your most meaningful images from your trip? If you try this, please keep me posted on how it turns out.
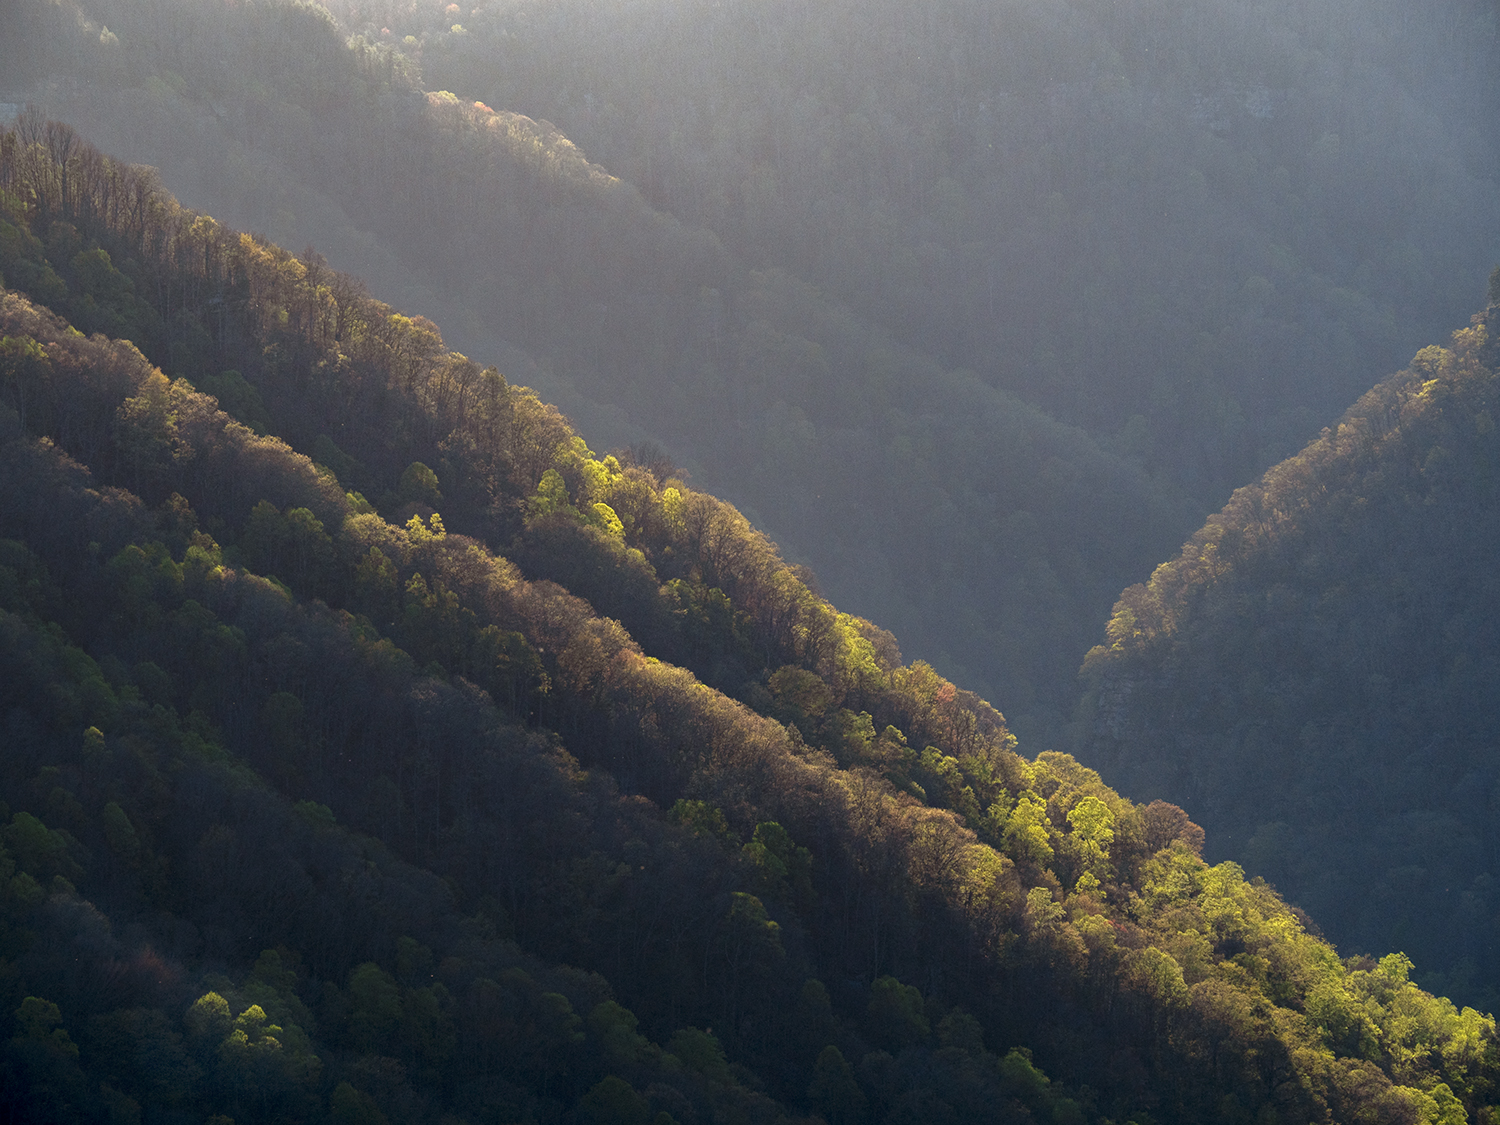
Above all, come back to Arizona for more RAW and wild adventures!
In the meantime, be well, be brave, be wild,
~Bubbles
If you liked this post and others like it, please consider supporting Dear Bubbles either through a monthly contribution through Patreon or a one-time donation through Buy Me a Coffee. Learn more about both at https://dearbubbles.com/support.
Have a question about photography, art, and/or the creative life? Need some advice? Looking for inspiration? Send your question to Dear Bubbles at colleen@colleenminiuk.com to be possibly featured in a future column post. (If you’d prefer a different display name than your real first name, please include your preferred nickname in your note.


2 Comments
Paul E LeSage
For even better upscaling than Adobe LR or PS, I would suggest a look at Topaz Photo AI or Topaz Gigapixel AI which claims to upscale up to 6x. I’ve been pleased the results.
Bubbles
Fantastic, Paul! I haven’t used either, but it certainly sounds like Topaz products offer more great options for this predicament. Thanks much for contributing your ideas and wisdom!