The Glow-To Orton Effect
Dear Bubbles,
I saw one of your photos had something called an Orton effect. What is that and how do you do it?
Martha
Dear Martha,
The Orton effect, which is also known as Orton imagery, has gained much popularity and notoriety with the arrival of digital photography, but this multiple-exposure technique has been around since the 1980s. Michael Orton, a photographer from Canada, is believed to be the first to blend two slides of the same scenes with different focus and exposure settings.
To accomplish this effect, he made one frame of a composition with sharp focus and proper exposure. Then, he made a second frame of the same composition which appeared out of focus and overexposed. He then overlayed the two frames “…to imitate watercolor paintings by simply placing the images out of focus and if you have seen pen and ink and watercolor combinations, you will understand where the inspiration to add detail comes from.” (Source: https://www.michaelortonphotography.com/ortoneffect.html)
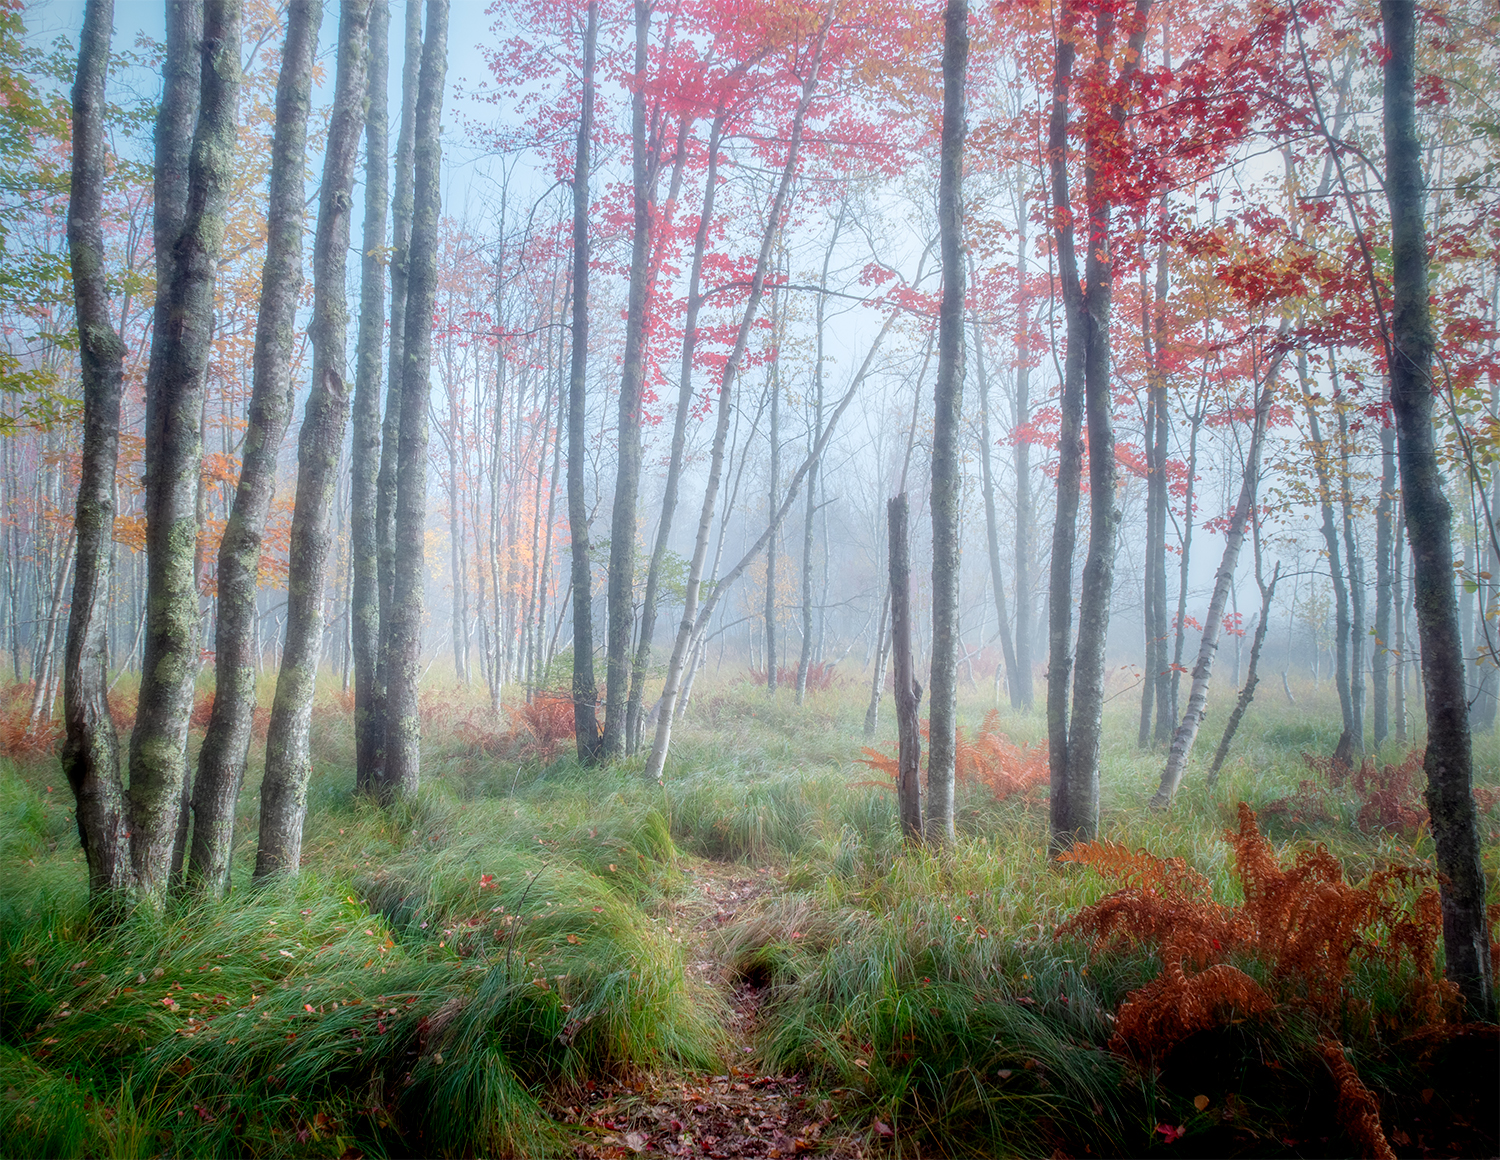
Orton first attempted this approach with slide film so it may come as no surprise that his technique was originally called a “slide sandwich.” Today, with digital technology, we can recreate this delicious dreamlike effect in the camera and/or in processing software with one or more frames. Anytime I find myself describing what I’m experiencing or responding to falls into the buckets of “painterly,” “soft,” “dreamy,” “ethereal,” “impressionistic,” “glow,” “angelic,” or like words, I start thinking about creating a photography using the Orton effect. It’s my “glow-to” way to get that glowy feeling.
As with all things in photography, there are a gazillion different ways to accomplish the Orton effect. I encourage you to experiment and play abundantly to learn how the variables interact and to refine your own approach for your own photography pursuits.
To get you started, though, here are some tips should you wish to attempt Orton imagery in the field:
- Use a tripod to ensure alignment between the compositions among the two frames you’ll create. Finding non-moving subjects or wind-free moments also helps preserve the alignment between the visual elements during the multiple exposure.
- Settle on a composition. This technique produces yummy images with any lens and perspective: wide-angle to telephoto to macro lenses and anything in between. Apply whatever filters you need for exposure balance and effects—polarizer, graduated neutral density, neutral density, etc. Then make all the necessary adjustments you need to finalize your composition so that you can keep the composition static for the next two frames.
- Make one frame that appears out of focus and overexposed. Start with a wide aperture of f/4 or f/5.6. Then manually adjust your focus so that your composition looks blurred. This is the tricky part! You’ll want the frame to be out of focus enough to lose texture but not so much that you lose the overall structure and contrast among the visual elements. Manual focus helps find this balance much more efficiently and effectively than auto-focus. Next, push your exposure to the right of your histogram without blowing out your highlights. No blinkies! Blinkies—or more officially, the highlight alert—indicate the parts of your frame where your camera has recorded no data, and thus no detail, during your exposure. We don’t want this. We just want this frame to be about a half- to full-stop brighter and lighter than the next frame we’ll make. (Those who photograph in RAW format will recognize this as the expose-to-the-right, or ETTR, approach to exposure.)
- Make another frame of the same composition that displays sharp focus and an exposure a half- to full-stop darker than the previous frame. Don’t move your tripod! For landscape scenes, change to a small aperture (e.g., f/16 or f/22) and set your focus point according to the hyperfocal distance so that most, if not all, of this frame appears in sharp focus. For more intimate or macro scenes, use whatever aperture appropriate to render a part of your scene in focus—a little or a lot doesn’t matter, so long as you have some focus to contrast the out of focus parts in the previous frame. As you adjust the focus, the perspective of the frame will change a pinch so you might need to ever-so-slightly—and carefully!—zoom in just a smidge on your composition to keep the visual elements aligned properly between the two images. Then, darken your image by underexposing a half- to full-stop of light. (Yes, this is one exception to using the ETTR if you are photographing in RAW format…)
- Blend the two frames in the camera or in processing software. The Image Overlay and Multiple Exposure setting with image overlay are your best in-camera options if you have them at your disposal. In both cases, your camera blends the images immediately and you can spot—and adjust for—any alignment or exposure issues. That said, regardless of the availability of these two functions in your camera, blending the two images in processing software can offer more precise control and greater options in merging the two exposures. To do so, select your two frames and select the Load Files Into Photoshop Layers function. From there, you can change the opacity of either frame/layer, fine tune exposure levels, use brushes and masks to isolate the effect in localized areas of the frame, apply different blend modes, and make other adjustments to your heart’s content. (For more about blending multiple exposures in general, please visit my “It’s All About ME (Multiple Exposures)” column at https://dearbubbles.com/2022/05/all-about-me-multiple-exposures.)
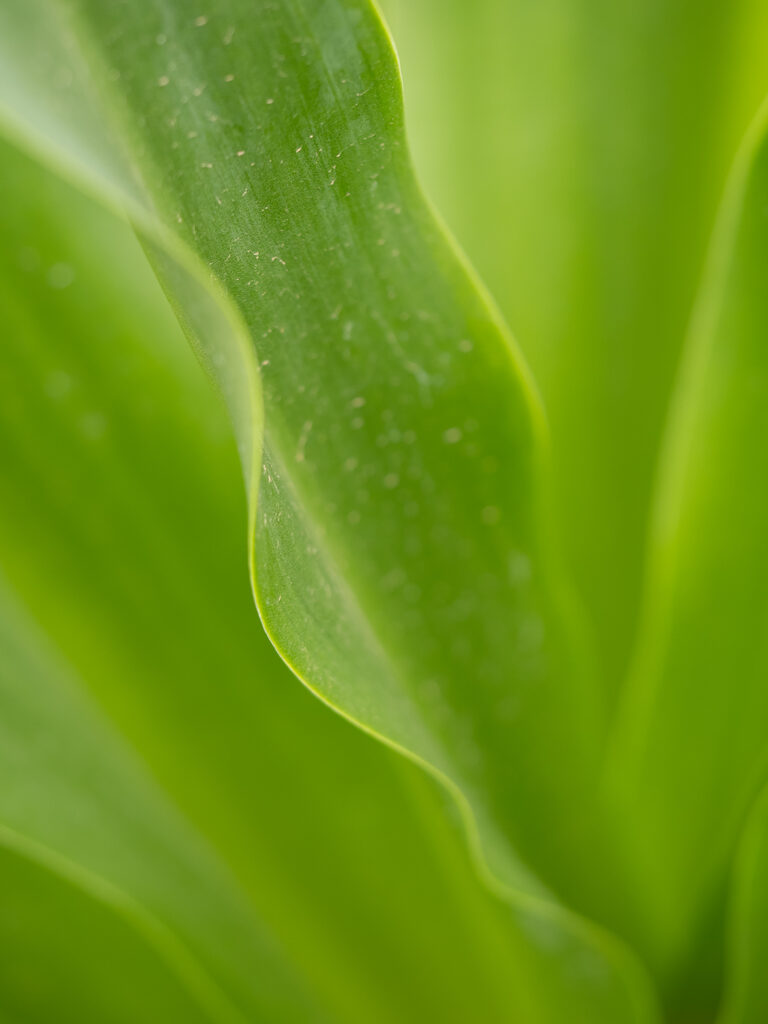
As an example, here is a close-up sequence from the Desert Botanical Garden in Arizona I made recently in camera using the Image Overlay function in my Olympus OMD EM1 Mark III camera:
Now, if you were out and about and not thinking about the Orton effect (and thus did not make a second frame), you’re still in luck! So long as you have a well-exposed, in-focus single frame available, you still have opportunities to recreate the dreamlike effect in processing software.
A quick Google search for “Orton effect how to in Photoshop” will reveal a bunch of different approaches. Some are way more involved (and effective…) than others. They all render slightly different effects. Try them all. Pick which one works best for you.
No matter your approach, the key to getting the soft, ethereal effect is to ensure you have one image in focus with proper exposure blended with another that’s out of focus and overexposed. I don’t care how you get there, just that you do!
The three main ways (read: quick and easy) I apply the Orton effect with a single image are as follows:
- Easiest but less effective: Open your single image in either Adobe Lightroom Develop module or Adobe Camera Raw. Under the Effects menu, try moving the Texture slider to the right while moving the Clarity and Dehaze sliders to the far left. This will increase the apparent contrast and sharpness in the high-frequency areas (i.e., a lot of texture and detail) but reduce the contrast and sharpness in the mid- and low-frequency areas (Clarity and Dehaze respectively). Then brighten your image to your taste with Exposure, Highlights, and/or Whites.
- Pretty easy and effective: Make a duplicate of your single frame in Adobe Lightroom or Adobe Bridge to create a second but out of focus, overexposed version of the same scene. Open the duplicate copy in Lightroom, Camera Raw, or Photoshop, then lighten the frame at least a stop (using Exposure, Highlights, Whites, Levels, Curves, etc.). Then open the duplicate copy in Photoshop if you haven’t already. Apply a Gaussian blur by selecting the Filter/Blur/Gaussian Blur menu. Entering a larger number in the Radius field will increase the blurriness of the image, and as such, the painterly vibe. The rule of thumb is to match the Radius to the megapixels of your camera. My Olympus camera yields 22 MP so I tend to start around 20 and adjust to my liking. Increase this number if you want to render a more impressionistic version of your image. Then, open your original image. Duplicate the original image into the blurred image file (or vice versa). Then reduce the opacity and/or the blend mode for the blurred layer so that you see a balance between sharpness and softness between the two images.
- More involved but still easy and more effective: In Photoshop, duplicate your image such that you have two layers of the same frame. On the top layer (“Background Copy”), select Image/Apply Image from the main menu options. In Apply Image, keep the Layer set to Merged, Channel to RGB, and Opacity to 100% but change the blend mode to Screen. Select OK. Then duplicate that layer (“Background Copy 2”). With the Background Copy 2 layer selected, go to Filter/Blur/Gaussian Blur. Enter the appropriate Radius as described earlier. Select OK. Merge the two background copy layers into one layer. You should now have a Background (your original image) and a second Background Copy (it make have a number 2 after it or no number at all). With the Background Copy layer selected, choose either a Soft Light or Screen blend mode, then adjust the Opacity of the layer to taste.
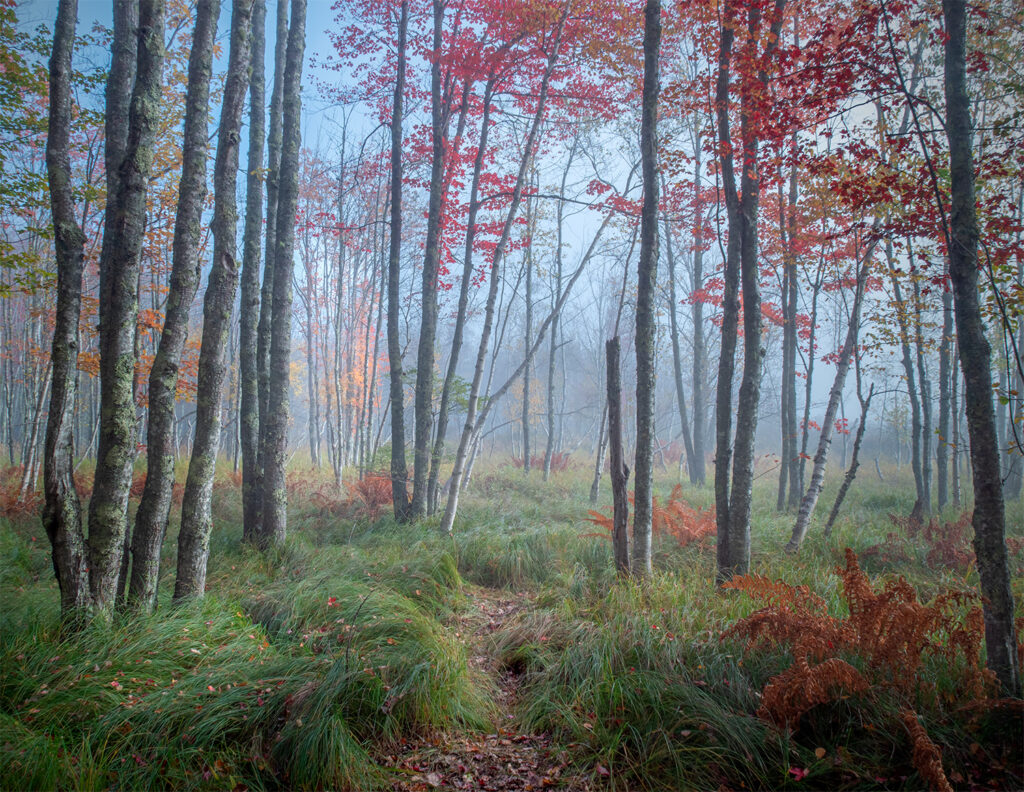
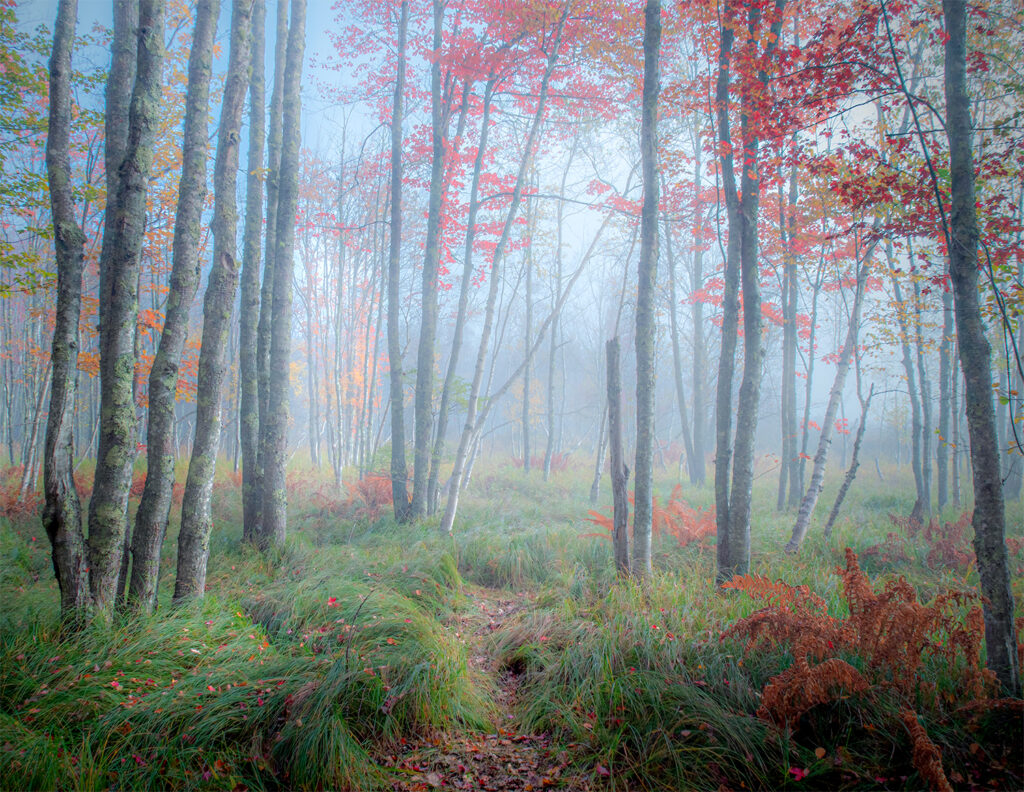
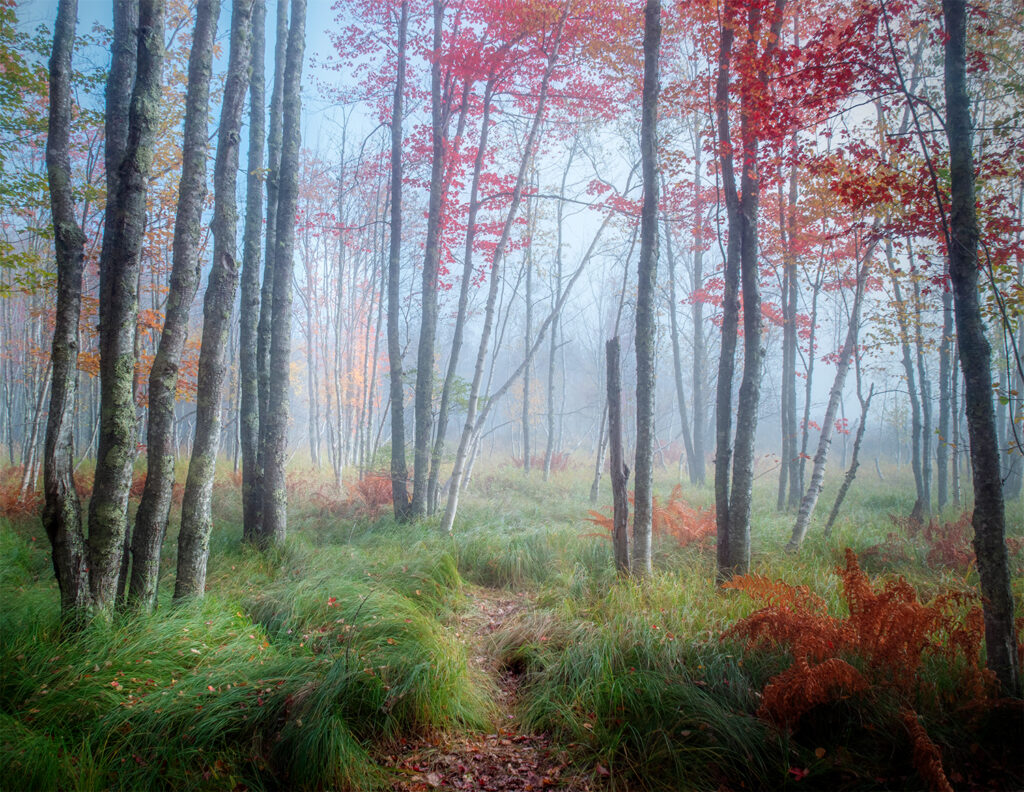
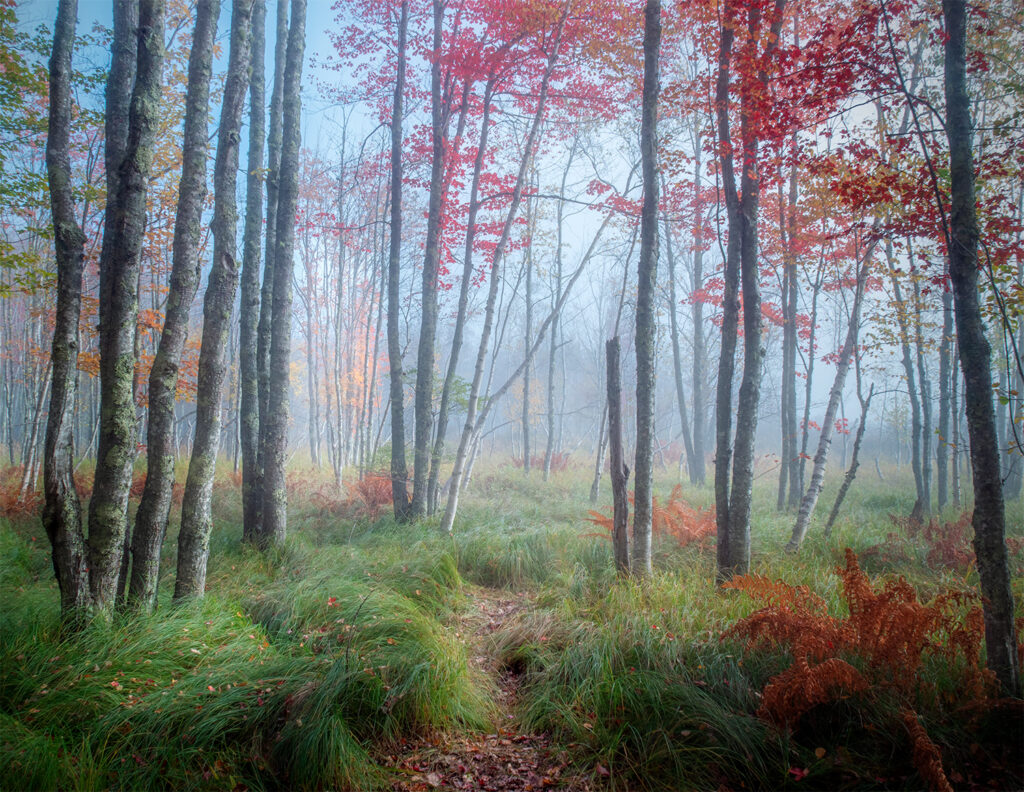
Here’s an example of an image I made in autumn in Acadia that had a painterly feel expressed already but the moment happened too fast for me to record a second frame to achieve the Orton effect in the field. So I processed it using the three steps described above so that you can see the difference in effect between the different approaches:
Which version do you like best? All are right answers (as will be any other way you approach recreating the Orton effect for your images). The best answer for YOU is the one that best matches YOUR vision. And like with all photography, as Dewitt Jones likes to say, “There are many right answers.” Give the Orton effect a go–er, a glow–and see how it can expand your creative toolbox and help you make dreamy photographs you’re proud of.
Be well, be brave, be wild,
~Bubbles
Have a question about photography and/or the creative life? Need some advice? Looking for inspiration? Send your question to Dear Bubbles at colleen@colleenminiuk.com to be possibly featured in a future column post. (If you’d prefer a different display name than your real first name, please include your preferred nickname in your note.)
If you liked this free post, please consider supporting Dear Bubbles either through a monthly contribution through Patreon or a one-time donation through Buy Me a Coffee. Learn more about both at https://dearbubbles.com/support.
The new “Making the Photo” video series is here! Check out the first episode at https://dearbubbles.com/2025/02/making-the-photo-turning-the-page. Catch the other monthly episodes by becoming a Patreon supporter for just $2/month.





2 Comments
Paul LeSage
Excellent article. I’m going to go to Lightroom and find couple of prospects before the sun sets thrice.
Shane Davila
Thank you for the information. Your photograph is striking, and the treatment you gave it drives home the “ethereal” feel. I’m excited to try some of these techniques. -Shane