Out of the Fog
Dear Bubbles:
Could you offer some practical considerations for photographing in fog? Thanks!
Constance
Dear Constance,
Although clouds can develop at many different altitudes in the sky, fog is a type of cloud that touches the ground—in forests, in the mountains, even over water. Fog forms when the land cools enough to condense water vapor into a liquid. Specifically, the difference between the air and dew point needs to be less than 4° Fahrenheit (2.5° Celsius) while the relative humidity approaches 100%.
I’m not too keen on fussing a lot about numbers—beyond exposure settings—while I’m roaming about. Instead, I monitor conditions using my Windy app (https://windy.app) which has a feature for identifying fog anywhere in the world. (As I type this, there’s currently fog in Vannes, France and Riggins, Idaho. Let’s go!) I don’t check the weather to decide whether I venture outside or not. I only check the weather to figure out what I’m going to wear when I’m out there. As soon as I see fog on the map in the vicinity, my heart flutters. Because these misty, wet conditions can yield a special mystical, ethereal mood to our photographs.
When you find yourself in a fog, keep the following in mind:
Dress for success: Fog is one step away from mist and two steps away from rain. (Although I get laughed at when I say it in front of other people, Cadillac Mountain in Acadia National Park taught me that there really is a thing called “dry fog.” I’m serious! Go see for yourself sometime!) Keep yourself dry and comfortable by wearing rain gear—a waterproof or water-resistant rain jacket with a hood, rain pants, neoprene socks, and water shoes.
Protect your gear: Protect your camera from the elements by covering it with a lightweight rain cover like the OP/TECH Rainsleeve (https://www.optechusa.com/rainsleeve.html) or even a shower cap (see “Fog Cheats” below). Big, thick rain covers are overkill for fog but if you think conditions might turn into rain, pack it anyway. Avoid changing lenses in the field (or your back to the wind and cover your lenses when you do). Slip a few lens cloths in your pocket to wipe your lens and filters free of moisture. Being ever the practical one (read: anal retentive…), I designate one pocket—my right—as my dry pocket and the other—my left—as my wet pocket. Bring a towel to leave in your car to dry you and your gear after your outing. If it’s chilly outside, wrap your camera in a garbage or plastic bag before bringing it into a heated car or room. (Remove your battery and memory cards too.) The temperature difference can cause moisture build-up which causes your lens and viewfinder to fog up.
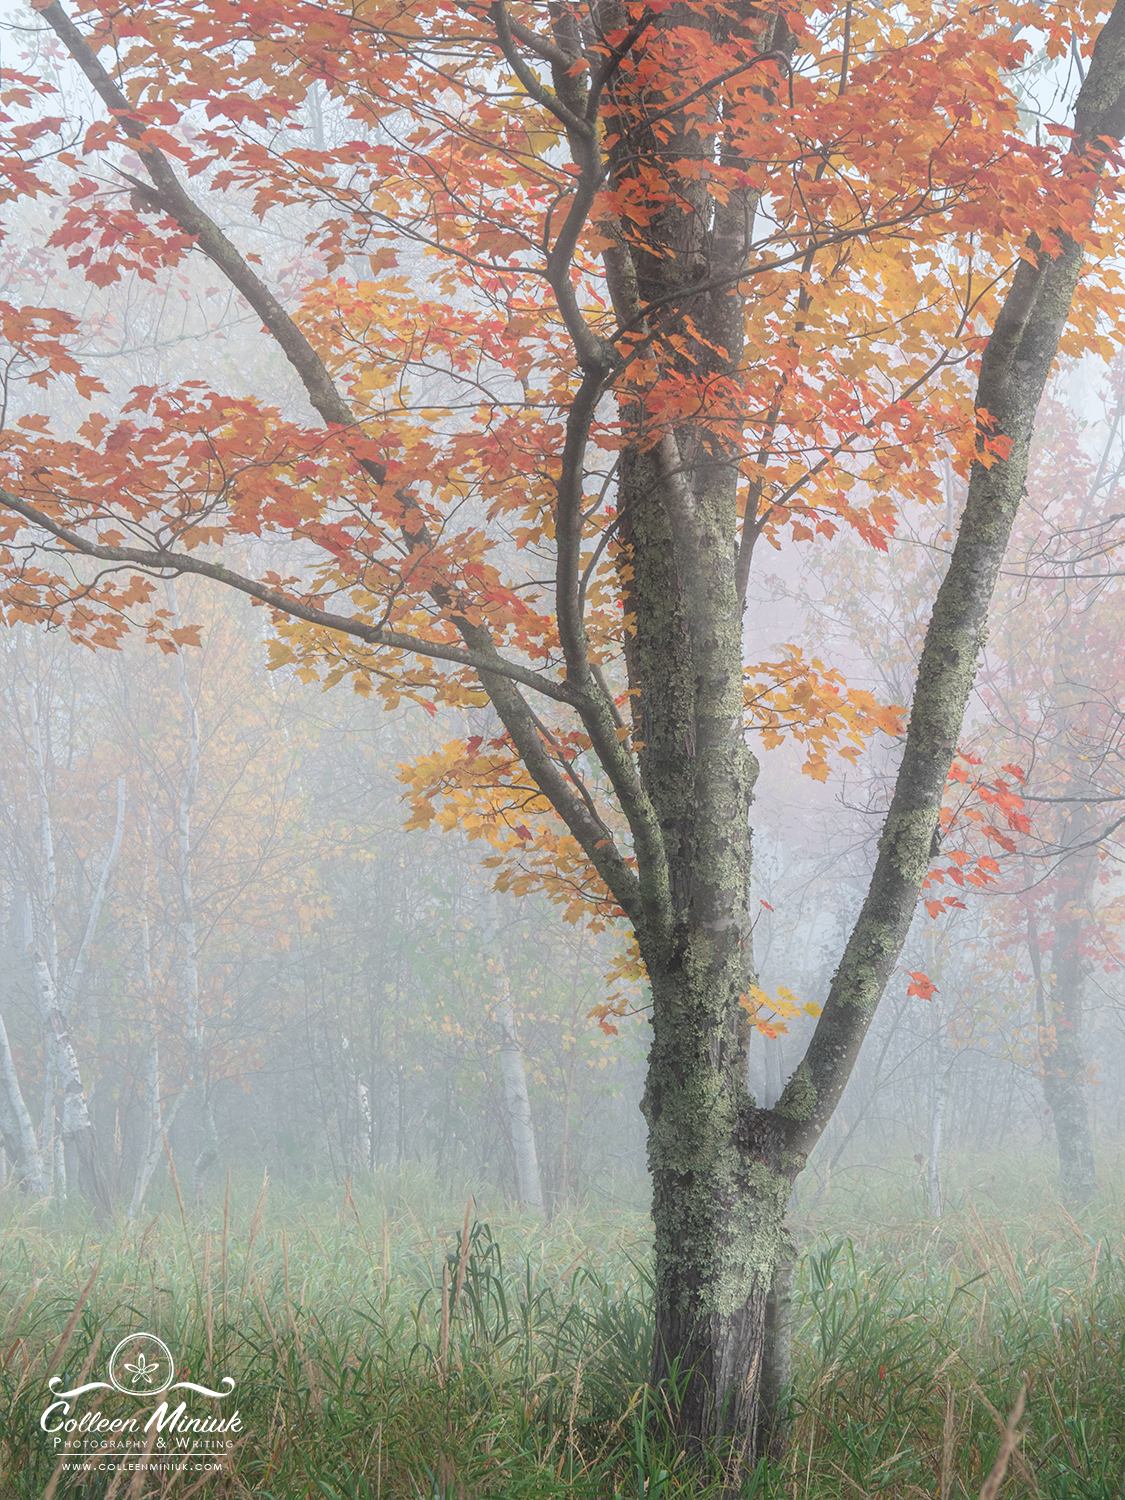
Get deep: Fog creates even illumination in a scene, meaning an abundance of midtones, but not a lot of highlights or shadows. In other words, your photographs can appear flat. To achieve depth, pay attention to tonality—naturally occurring contrast between dark and light tones even in monochrome light. Strong foregrounds, converging lines, and/or the use of selective depth of field can also help create separation between layers.
Compose deliberately: With the kind of monochrome light fog renders, you can go at least one of three directions in choosing your subject matter:
-
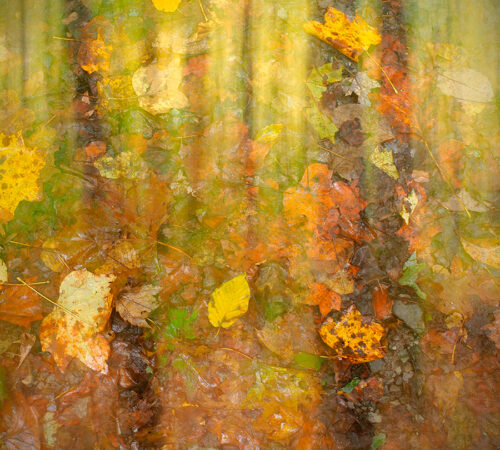
- Find colorful subjects to juxtapose and balance the monochromatic light. Overcast lighting increases the appearance of color saturation in photographs.
- Go with the cards Mother Nature dealt to you and plan to convert your scene into monochrome.
- Render your scene in high key, meaning intentionally overexpose and focus on isolating color, structure, lines, etc.
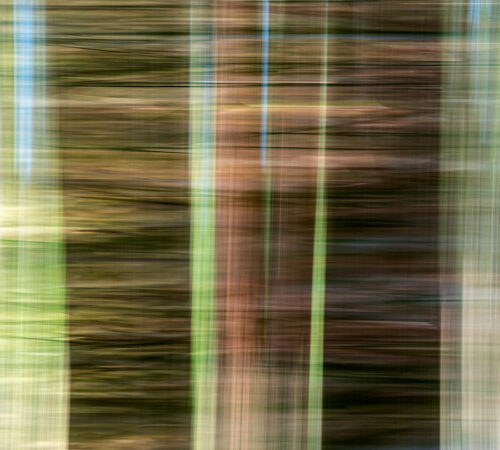
However you decide—and I decide based on the meaning behind my visual message—compose tightly to keep the bright areas, like a dull grey sky, to a minimum. One of my favorite thing about fog is that it can create as a clean, simple background in an otherwise busy scene. Case in point, fog hid a very busy forest of trees in the background of the photograph at the top of this post.
Use a longer focal length lens: It seems every time I find myself in a foggy scene, the fog always feels like it’s over and out there, never right in front of me. When using wider-angle lenses, the fog may not feel as prominent in the frame as it seems to your eye. Bring in the fog visually by using a longer focal length lens (i.e. longer than 100mm), which will compress the fog against the other visual elements in your scene and make it look denser.
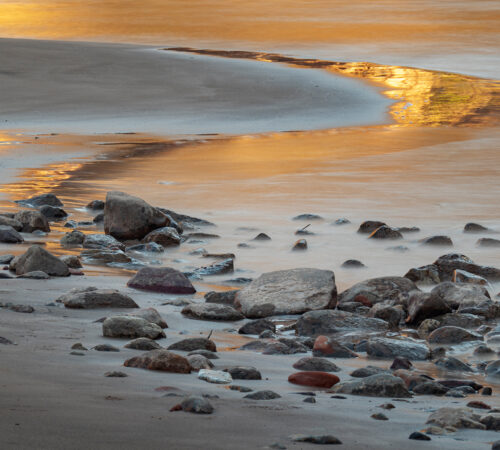
Forget the filters: Fog is moving creature and you can blur it into the White Blob of Nothingness, like with water, if you aren’t careful. Slowing your shutter speed unnecessarily will lead to losing texture in the fog. That means filters like UV, polarizers, and neutral density won’t serve any useful function. If I want to increase the visual weight on the top, bottom, or sides of my frame, I’ll sometimes use a graduated neutral density filter in the field. If it’s too damp out, though, I’ll skip it, aim for a solid RAW exposure, and darken the areas in processing software. Now that said, if you want to moving water to appear as if it’s fog, you absolutely want to use a neutral density filter that is strong enough to take away a substantial amount of light and thus, slow your shutter speed into the minutes range (e.g. a 6-10 stop neutral density filter).
Employ your tripod: Low lighting conditions plus the use of longer focal length lenses equals the need to use a steadying force like a tripod. Only handhold your camera if you can get your shutter speed equal to, or faster than, “1/focal length of your lens.” For example, if you’re photographing with a 400mm lens, your shutter speed should equal or be faster than 1/400th of a second. If you’re using a 200mm lens, your shutter speed should be at least 1/200th of a second or faster. Bump your ISO speed up if needed, especially if you’re in a dark scene with thick fog. Don’t like math? Then just use a tripod!
Monitor your exposure: Your camera wants to “see” (i.e. meter) your composition as middle grey in tone always. It’s possible your camera will achieve the correct exposure without any exposure value (EV) compensation if the scene is, in fact, middle grey. Sometimes fog is lighter than middle grey so you might need to add a half- to a full-stop of exposure. If you’re photographing in RAW format, remember data—not what your picture looks like on your LCD—is king. Expose to the right, without blowing out your highlights, even if your frame looks washed out on your camera’s screen to maximize the amount of data your camera records during the exposure. Retain the shadows/blacks by moving the black point on your histogram in Adobe Camera Raw, Lightroom, and/or Photoshop. (When I teach this, I call it “Stretching the histogram across the entire tonal range.”)
Balance the color of light: Fog, like other cloudy conditions, renders much bluer light than daylight or at sunrise/sunset. The cool, blue tones may be exactly the vibe you’re going for in your composition. If not, and you’re photographing in JPEG format, set your white balance to Cloudy or Shade. If you’re photographing in RAW format, your white balance setting will not affect your data file—only the JPEG rendition you see on your LCD. I keep my white balance set to Daylight (5500 degrees Kelvin) all the time then adjust the color of my frame in processing software when I convert my RAW file (in Adobe Camera Raw).
Reduce detail: Part of what I love about fog is how muted and soft the landscape feels. By moving the Texture, Clarity, and Dehaze sliders in Adobe Camera Raw or Lightroom’s Develop module to the left—instead of the right—you’ll increase the appearance of softness in your photograph.
Fog cheats: If you have an overcast sky and wish to mimic the effect of fog, place a clear shower cap over your lens while you photograph. The looser you keep the shower cap over your lens, the hazier and surreal your scene will appear. The Almighty Library of Wisdom—the internet—suggests you can also create fog in Adobe Photoshop using Filters/Render/Difference Clouds but I’ve not tried this yet. I prefer to experience the fog myself than create it while sitting behind a computer. But if you can’t get outside and want to create that ethereal mood, knock yourself out. I hear there are fog machines you can use too.
Hope this helps keep you out of the fog when you find yourself in a fog!
Be well, be wild,
Bubbles
Have a question about photography, art, and/or the creative life? Need some advice? Looking for inspiration? Send your question to Dear Bubbles at colleen@colleenminiuk.com to be possibly featured in a future column post. (If you’d prefer a different display name than your real first name, please include your preferred nickname in your note.
If you liked this post, please consider supporting Dear Bubbles either through a monthly contribution through Patreon or a one-time donation through Buy Me a Coffee. Learn more about both at https://dearbubbles.com/support.