Mind Those Corners

Dear Bubbles:
I’m sorting and beginning to edit my Grand Canyon rafting pictures. On some of my pictures, I’m seeing edge tunneling. It could have been the neutral density/polarizing filter. Is there a simple explanation for this?
~Hank
Dear Hank:
How exciting! I can’t wait to see what you created on our trip. So many memories wrapped up in pixels…and sand. Lots and lots of sand…
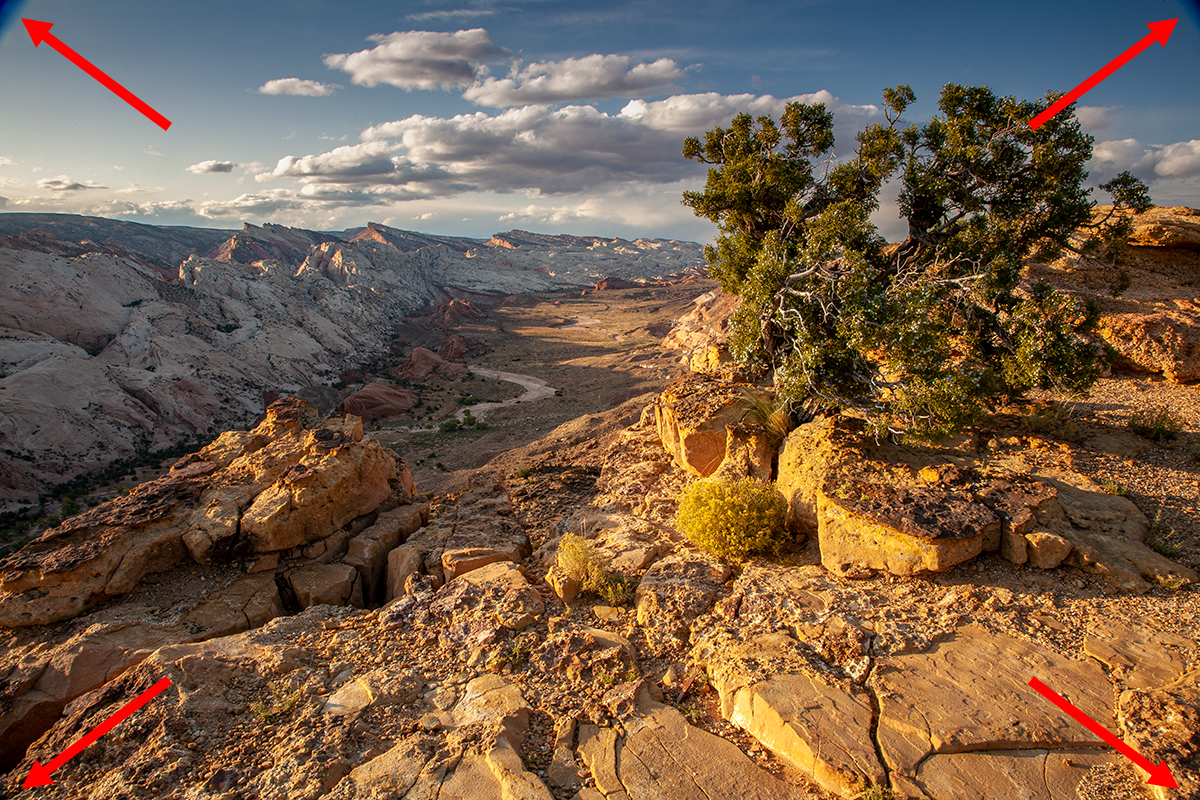
When you say edge tunneling, I am guessing you’re seeing small dark triangular shapes on the four corners of your image like so:

I like to say “Vignettes solve all world problems.” And they do! (Except for apparently COVID-19…). Darkening the edges of your frame while keeping the center area brighter helps to keep a viewer’s eye inside your frame. The type of vignette you’re seeing, though, Hank–the “edge tunneling” as you called it–is one type that tends to cause problems in the corners of our photographs.
This issue appears when the angle of view of your lens gets clipped by something. Although it can happen with a misaligned lens hood, the usual culprit is one or more circular filters screwed onto the front of a wide-angle lens. The width (or thickness) of the filter obstructs the edges of the lens such that light cannot pass through in those areas, resulting in severe (black) shadows in the four corners of an image.
Wide-angle lenses with focal lengths in between 24 and 35mm typically possess a broad angle-of-view (AOV) in between 84 and 64 degrees. At that wide, even a standard, single polarizing filter, which is about 8.6mm (0.34 inches) thick, is enough to cause the issue. The filter you were using on our Grand Canyon trip—the variable neutral density plus a polarizer—is essentially three filters stacked (two for the neutral density, one for the polarizer). It’s 17.3mm (0.67 inches) thick. The thicker the filter, the more pronounced the unintentional vignette will appear. That said, we don’t see the issue with telephoto lenses which have a much smaller FOV (typically between 30 degrees and 1 degree depending on the focal length of the lens).
There are a few to prevent this type of mechanical vignetting from occurring:
 When you purchase a filter, consider purchasing a thin-mount version if it’s available. For example, a thin-ringed polarizer will be about 4.8mm (0.19 inches) thick. Slimming down will cost you a few more bucks, but it’ll make a difference and save you from having to fix the problem down the road.
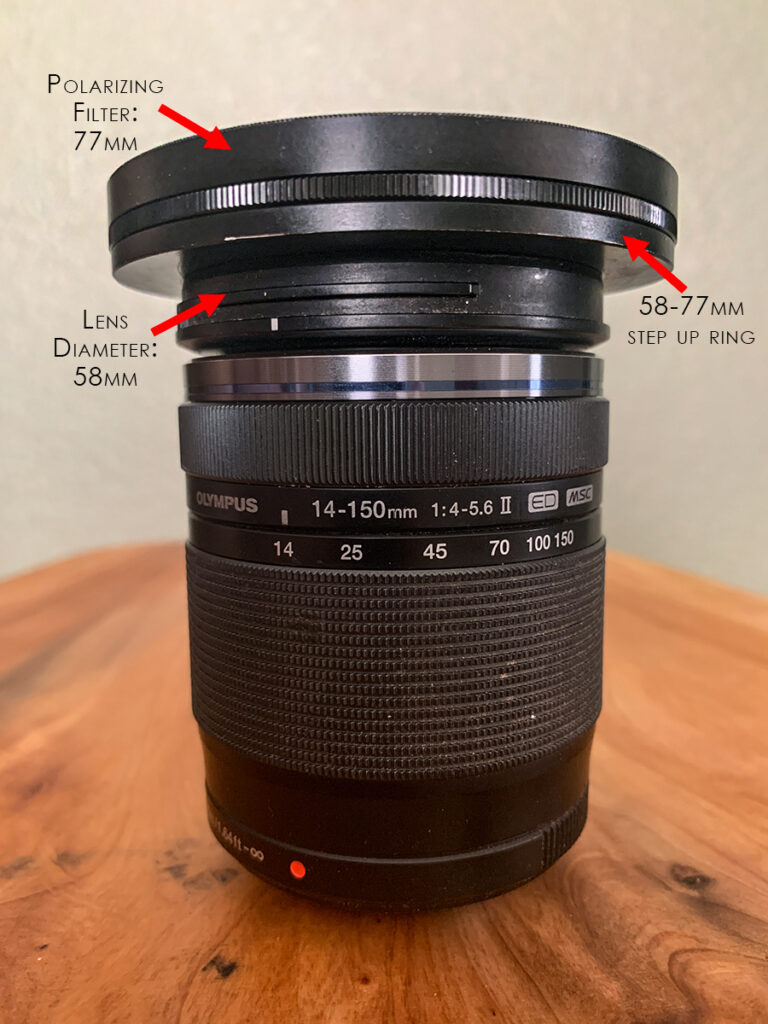
- Alternatively, look into buying a bigger-sized filter than the diameter of your lens barrel. For example, my 14-150mm lens (equivalent to a 28-300mm in 35mm terms) has a diameter of 58mm. I use a 77mm polarizer. To fit a larger filter on a smaller lens requires the purchase of a step-up ring. In my case, I have a 58-77mm step-up ring which means it fits a 58mm lens to a 77mm filter. The first number listed for a step-up ring represents the lens barrel size, the second the filter diameter. Note the lens barrel size is different than the focal length of your lens.
- Ensure your lens hood is attached to your lens properly. Or don’t use a lens hood at all. Instead protect your lens from lens flare artifacts using your hand, a hat, etc.
- Limit the amount of filter stacking you do, especially with wider-angle lenses.
Of course, that does you no good if you’ve already purchased a filter OR you absolutely do need to stack filters (an act I’d encourage if it helps you convey your visual message. Don’t let gear and technology get in your way!). In that case, you have a few options to address it:
- In the field, take a step back and compose a little wider. It won’t remove the dark corners, but it’ll give you a little more room to crop the corners off in processing software later, though.
- In processing, use the warp function without impacting the integrity of your composition. To warp in Adobe Photoshop, duplicate the background layer. Then select Control-T (or Edit/Free Transform from the menu). The Warp icon will appear at the top of the screen next to the checkmark and cancel icons. A grid will appear over your image, and you can drag each corner out of the frame as desired.
- In processing, use the clone stamp or spot healing brush to remove the dark corners. This works well in areas of solid colors (e.g. the sky, in shadows) but can be more challenging in areas with a lot of texture.
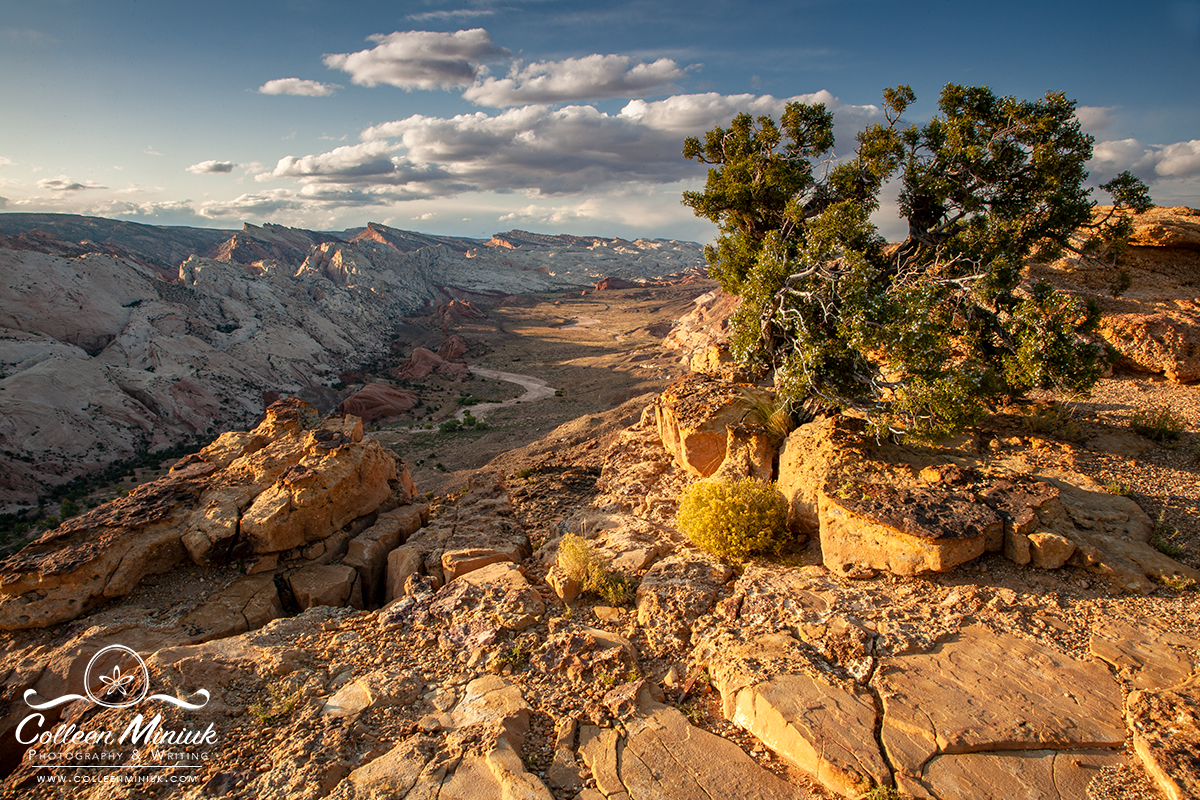
In the image at the top of the post, I clone-stamped the upper corners and warped the bottom corners. Then added a vignette (specifically via the Filter menu/Lens Correction/Custom then -20 in the Vignette field). Problem solved!
Be well, be wild,
~Bubbles
Have a question about photography, art, and/or the creative life? Need some advice? Looking for inspiration? Send your question to Dear Bubbles at colleen@colleenminiuk.com to be possibly featured in a future column post. (If you’d prefer a different display name than your real first name, please include your preferred nickname in your note.)


